Our goal is to share information and products that are truly helpful to renters.
If you click on a link or buy a product from one of the partners on our site, we get paid a little bit for making the introduction. This means we might feature certain partners sooner, more frequently, or more prominently in our articles, but we’ll always make sure you have a good set of options. This is how we are able to provide you with the content and features for free. Our partners cannot pay us to guarantee favorable reviews of their products or services — and our opinions and advice are our own based on research and input from renters like you. Here is a list of our partners.

DIY apartment repairs: How to fix a hole in the wall
Drywall patch and repair instructions for how to fix a hole in your apartment wall
Making a home cozy often means a few holes here and there. We love to hang art, pictures, memorabilia, TVs and mirrors, right? Whether you are moving things around or moving out — holes need to be patched. You’ll need to know how to fix a hole in the wall properly to satisfy the terms of your lease.
Here’s a quick how-to for patching both small and large holes for your apartment, so you get your security deposit back.
How to fix a small hole in the wall
Small holes typically come from using drywall-plugs, large screws or large nails. This repair method is suitable for holes caused by nails and screws.
Tools needed:
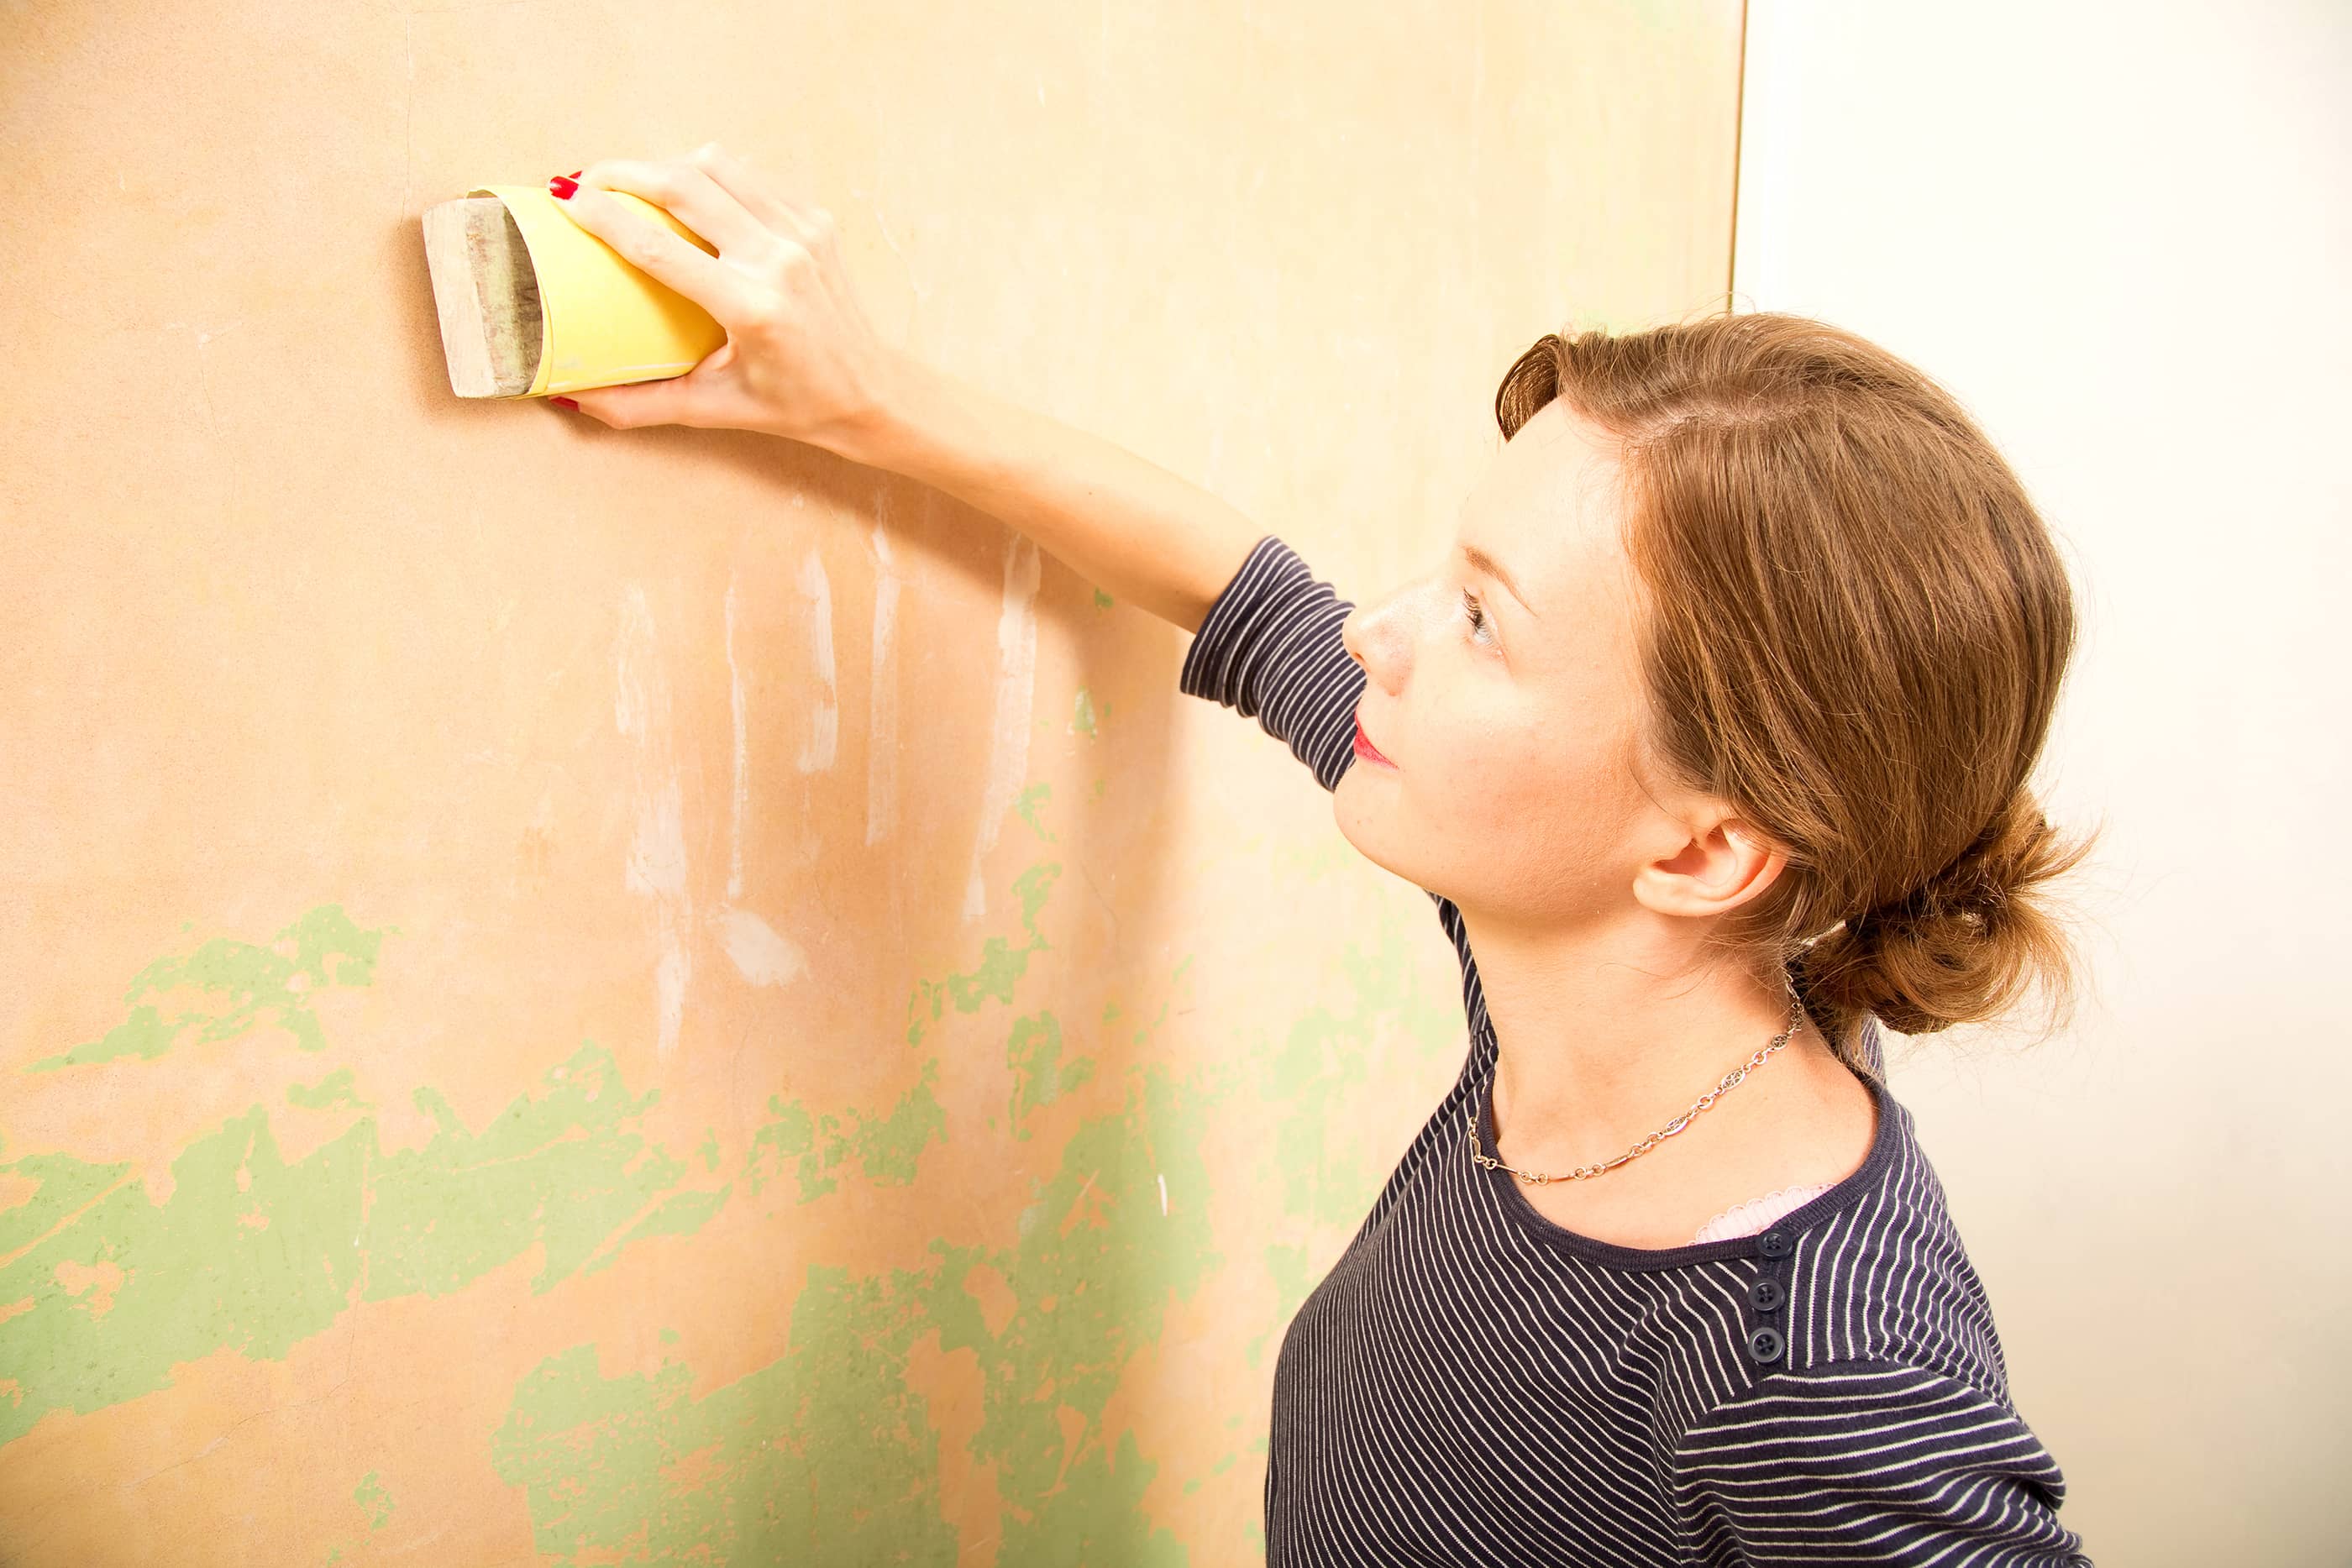
Sandpaper (100-150 grit)
The sandpaper will help you smooth everything out before you paint. You will only need one sheet of sandpaper to complete a small repair project.
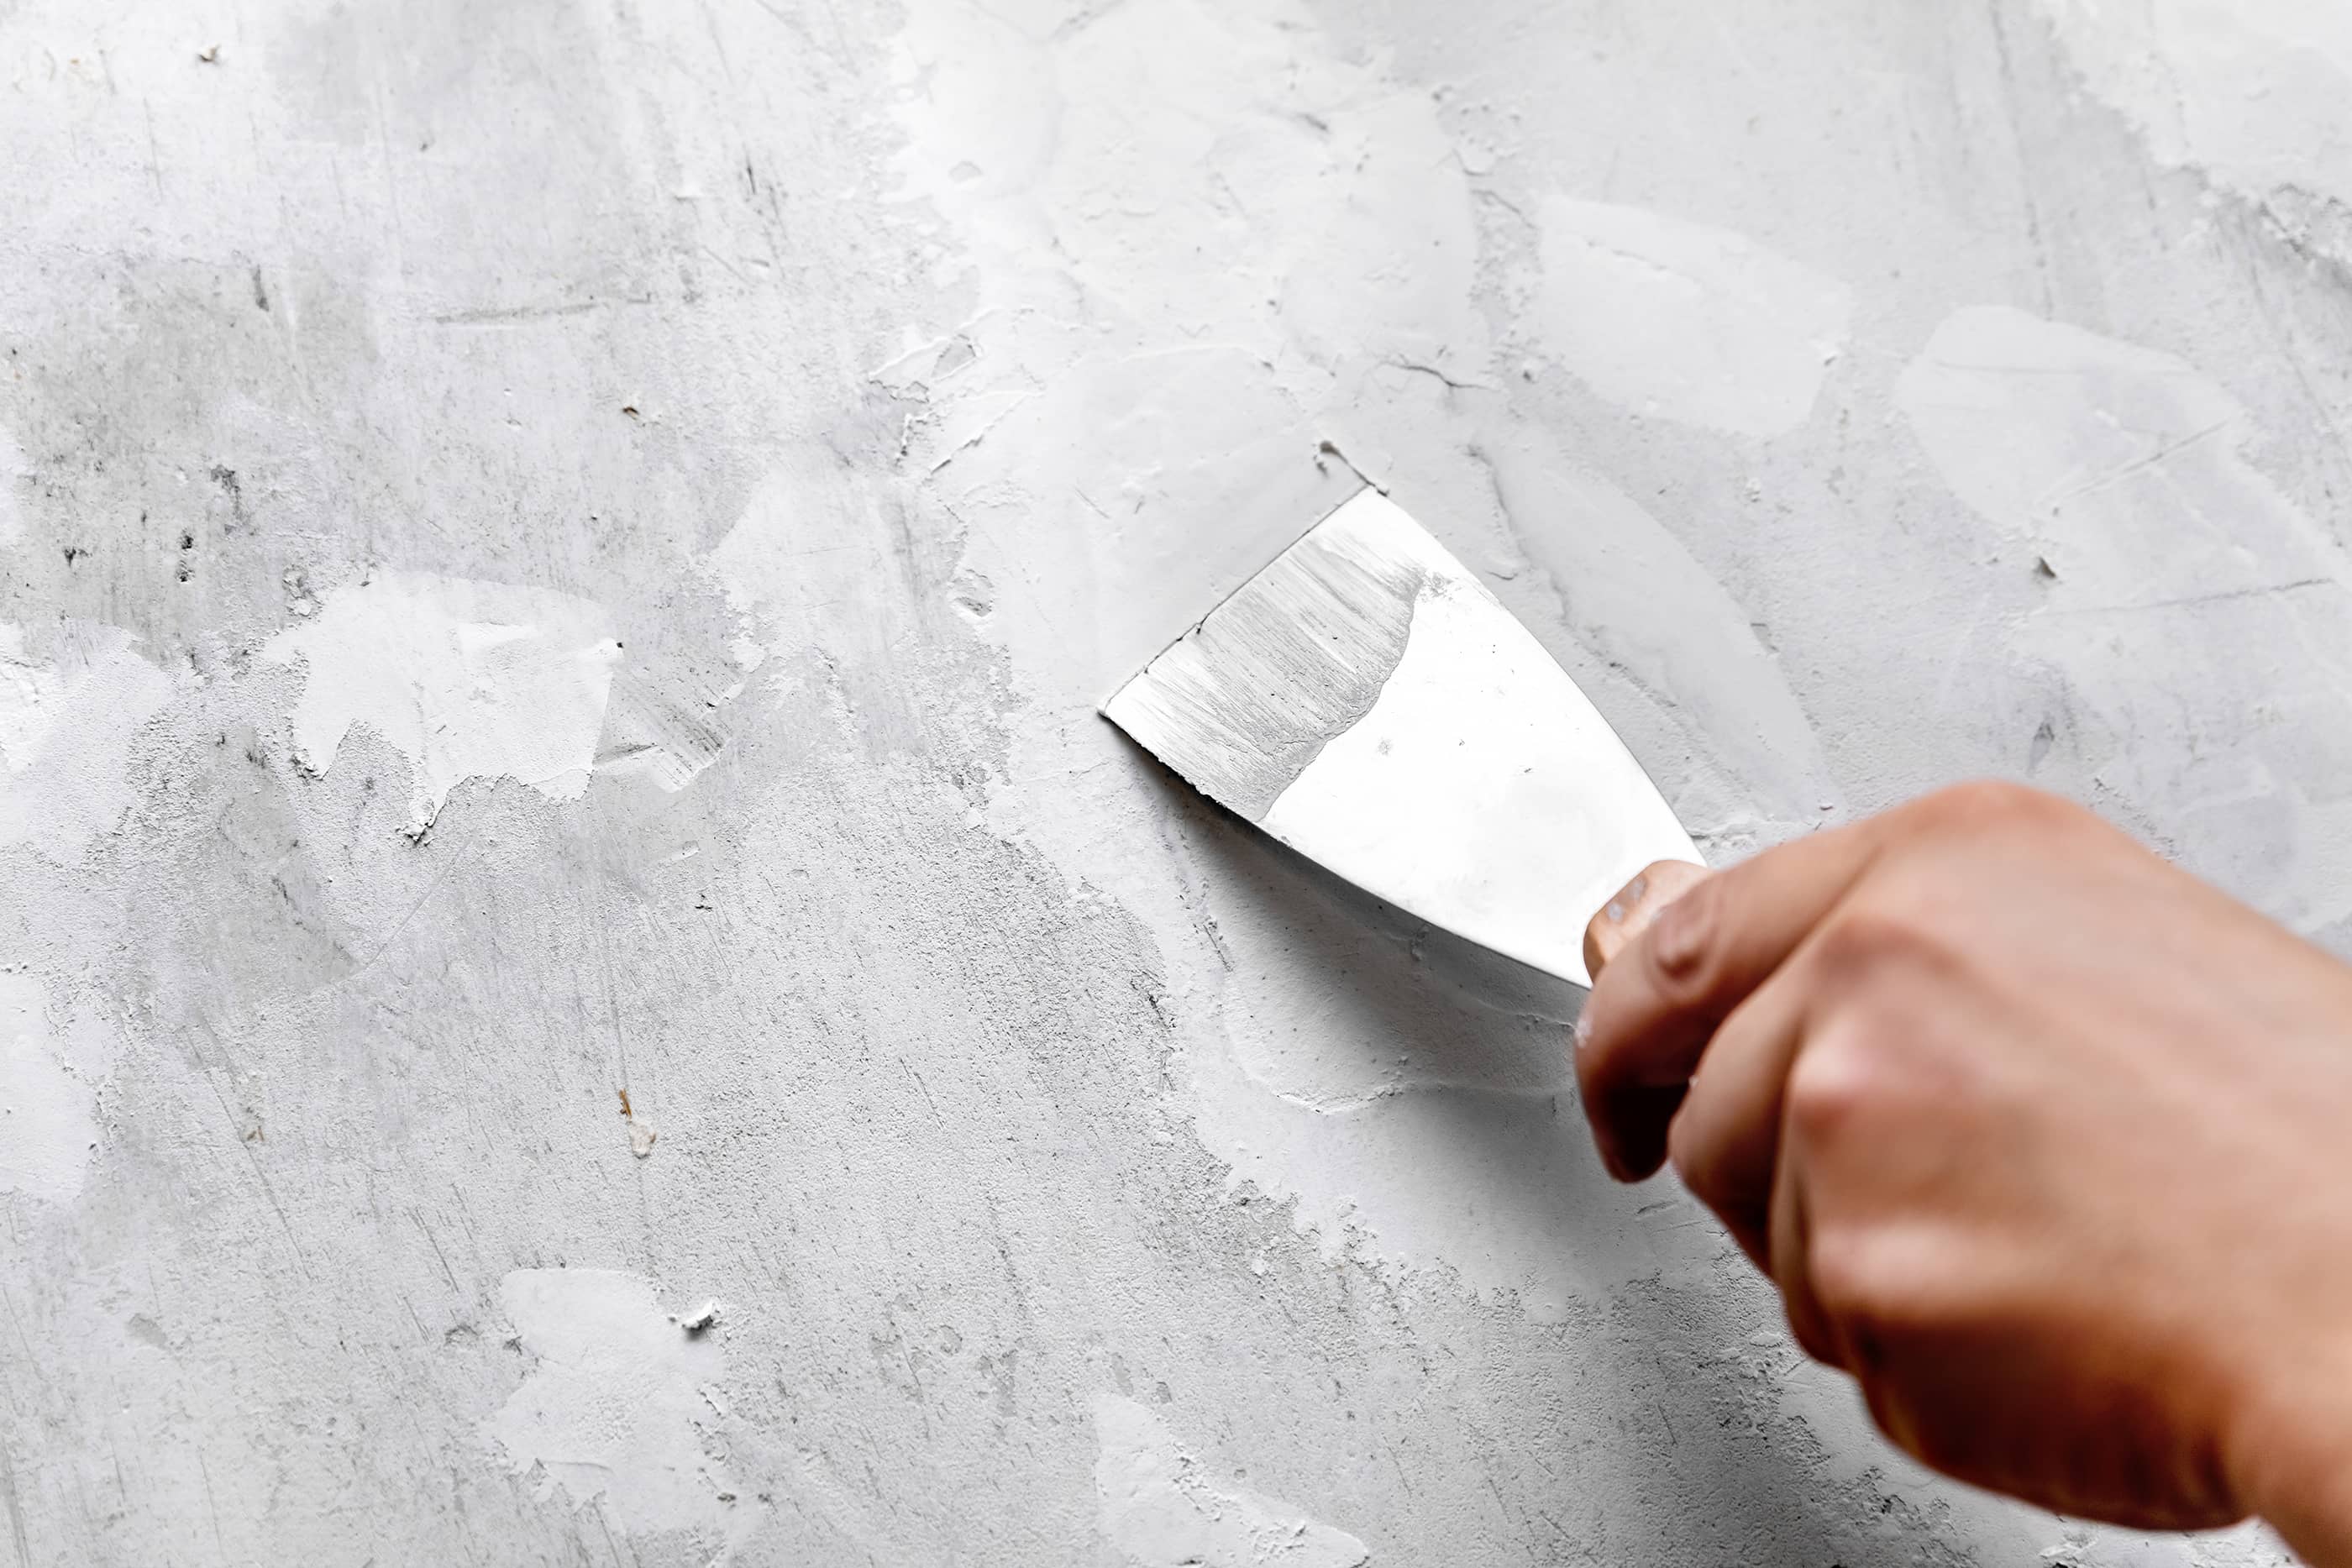
Putty Knife
Putty knives are not knives, but a flat piece of metal you will use to apply and smooth out the plaster. It is helpful to get a wide one, like this, to create a seamless patch.
Premixed plaster filler or “spackle”
This premixed plaster or “spackle” is what covers the wall, making a nice smooth surface to paint over.
Paint
Ask your landlord what color and finish of paint is on your walls, as you will have to paint over the patched-up wall to make it look like nothing ever happened.
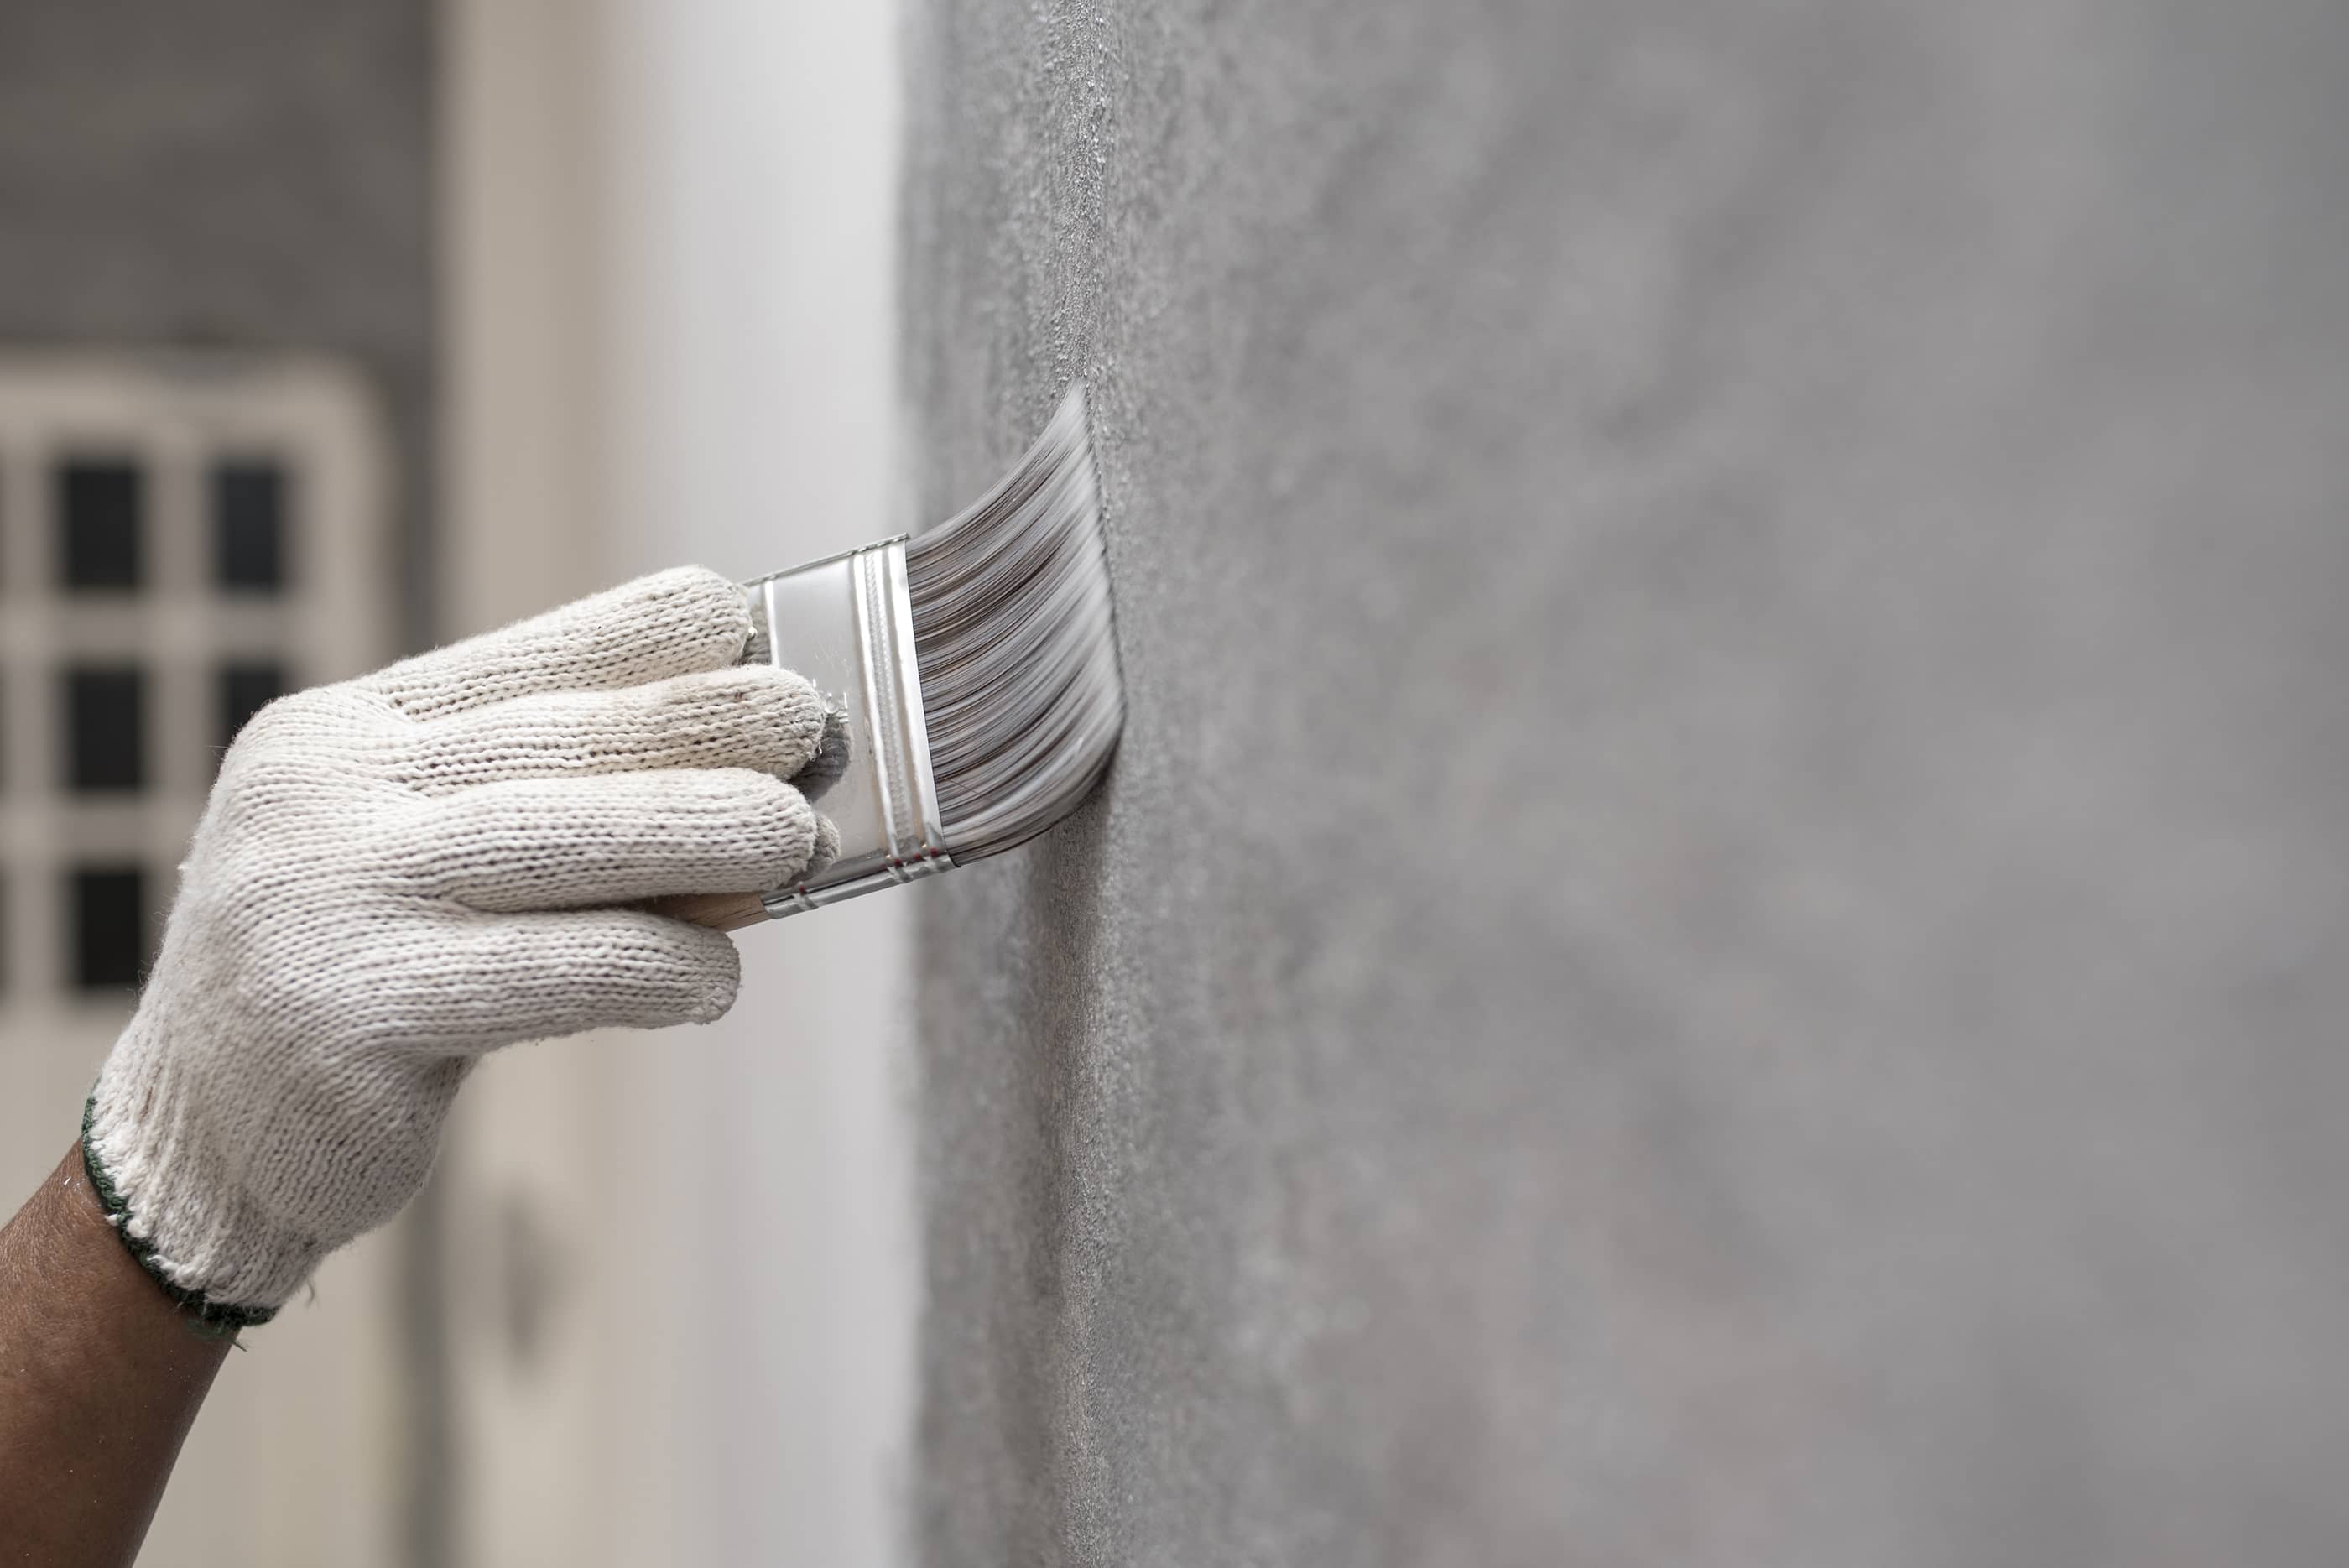
Paintbrush
Pick up a cheap paintbrush at the store. You do not need an expensive paintbrush since you are only going to use it once.
Drywall repair tape
If you need to repair large holes (up to two inches wide), you can use drywall repair tape. This tape gives the plaster structure to adhere to when covering larger than nail-sized holes.
To save time, you can simply purchase a drywall repair kit.
Steps for repairing small drywall holes:
1. Prepare the surrounding area of the hole
Begin by sanding around the hole to make sure it is smooth with the rest of the wall. Clean the area of any loose debris.
2. Spackle the hole
Use the putty knife to apply spackle into and around the hole. It is important to ensure the spackle is flush with the rest of the wall. Don’t worry about getting spackle on undamaged parts of the wall because you can paint over it later. Wait until the spackle sets, usually around 30 minutes. Apply a thin layer of spackle over the surrounding area to blend it with the undamaged part of the wall.
3. Sanding
Wait until the spackle is completely dry, usually a day, or as indicated on the container for the spackle. Once the spackle is dry, sand the working area to make sure it is flush and smooth in regards to the surrounding wall. Clear the area of loose debris before you paint.
4. Paint
After the spackle is dry and the area is clean, paint the repair area. You may need to use more than one coat of paint. Let the paint dry before applying the second layer of paint.
5. Done, congrats!
How to fix a large hole in the wall
Large holes in your drywall typically come from accidents such as a furniture leg or a human going through a wall. Oops. This method is excellent for holes larger than a few inches in diameter.
Tools needed to fix a hole in your wall:
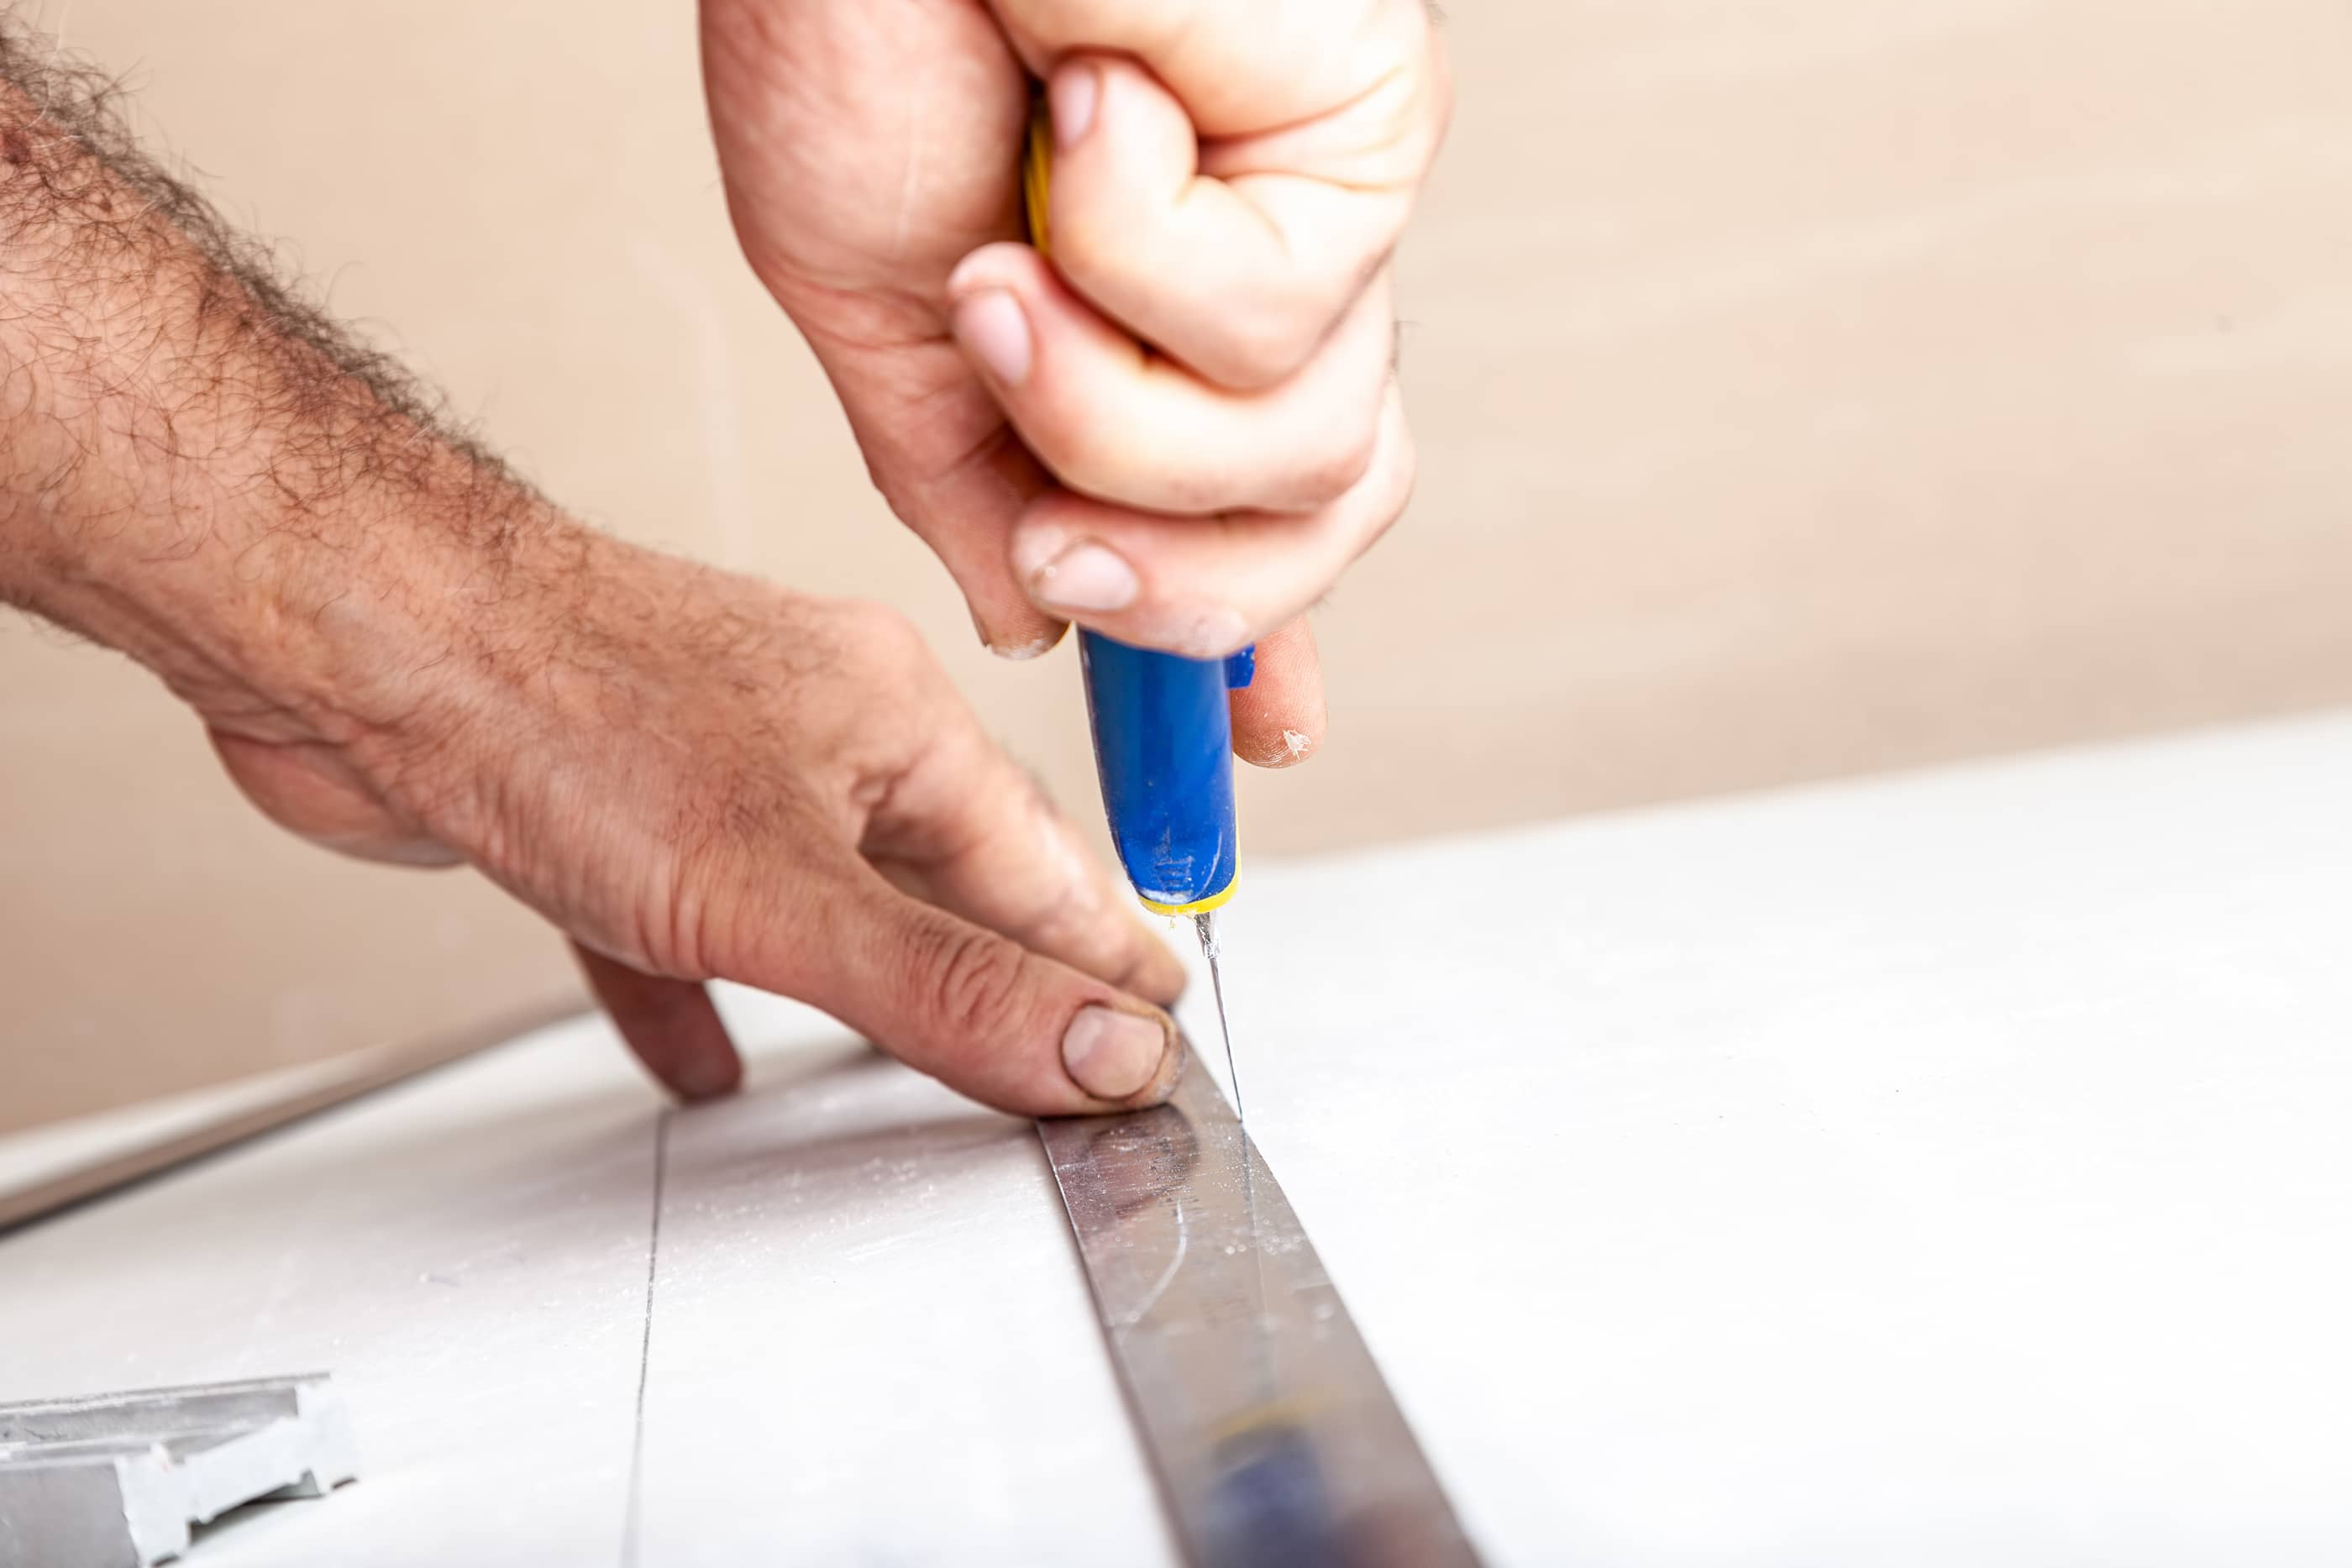
Utility Knife
A razor like this is a superb choice for this repair, and using one will keep you safe while making a clean, seamless cut.
Small piece of drywall
Drywall is typically either 1/2″-inch or 5/8-inch thick. Make sure you measure the thickness of your drywall before making a purchase. You will not need much, so a 2-ft square piece like this will work great.
- 1/2-inch thick drywall example
- 5/8-inch thick drywall example
Ruler or Straightedge
Any firm and straight edge will work—this will guide your Utility Knife as you cut out the drywall.
Pencil/Pen
You can use any pencil, even a pen, as you will just be using this to outline the new drywall and the marking will be covered up by the new plaster and paint.
Drill and small drill bit
Unfortunately, you will need to borrow, purchase or rent a drill to do this method. The drill is going to be used to make a few small holes. Borrow or buy a small drill bit, no larger than 1/8-inch in diameter.
Small piece of wood
A small piece of wood of 1×2 that is about two inches longer than the width of the hole is all that is needed. If you don’t have something to cut a board down with, don’t fret, you can use a scrap piece of drywall instead.
Wood screws
Pick up a couple of small wood screws to shore up the new piece of drywall you will put in. Make sure the screws are not more than an inch or two long.
Mesh plaster tape
This tape helps adhere the new piece of drywall into the wall and blend the new piece of wall into the old wall. Something like this would work great: mesh drywall joint tape.
Putty Knife
This tool is used to apply and smooth out the plaster. It is helpful to get a wide width one to help you create a seamless patch.
Premixed plaster filler or “spackle”
This plaster or “spackle” is what covers the wall, making a nice smooth surface to paint over.
Paint
Ask your landlord what color and finish of paint is on your walls, as you will have to paint over the patched-up wall to make it look like the rest of the wall.
Paintbrush
Pick up a cheap paintbrush at the store. A disposable foam brush is a good option.
Sandpaper (100-150 grit)
You are going to use sandpaper to smooth out the new plaster and make your repair look perfect. This type of sandpaper is easy to find in any hardware store.
Spray texture (optional)
Many wall finishes are textured. You may need to use spray texture to help you mimic the wall texture.
Steps to repair large holes in drywall:
1. Measure the hole in the wall
Measure the size of the drywall required to repair the hole. You will need a piece one inch larger than the hole. For example, if your hole is 3X3”, your new piece of drywall will need to be 4X4”.
2. Cut drywall
Cut out a new piece of drywall using the razor and straight edge. Repeatedly run a razor along the straightedge to create cuts in the drywall.
3. Align drywall
Hold the new piece of drywall up to the hole in the wall, trace the outside edge of the shape onto the wall using a pencil. Use the razor and straightedge to cut out along the outline drawn on the wall. Repeatedly cut along the outline until the drywall comes out with some gentle force. It is important to go slow and do as many passes with the razor that you can to make sure you get a nice straight cut. Run the razor along the inside edge of the new square hole to clean up the edges and make straight as possible Test that the hole is large enough by gently putting the new square of drywall into the hole. If not, use the razor to enlarge the hole as needed.
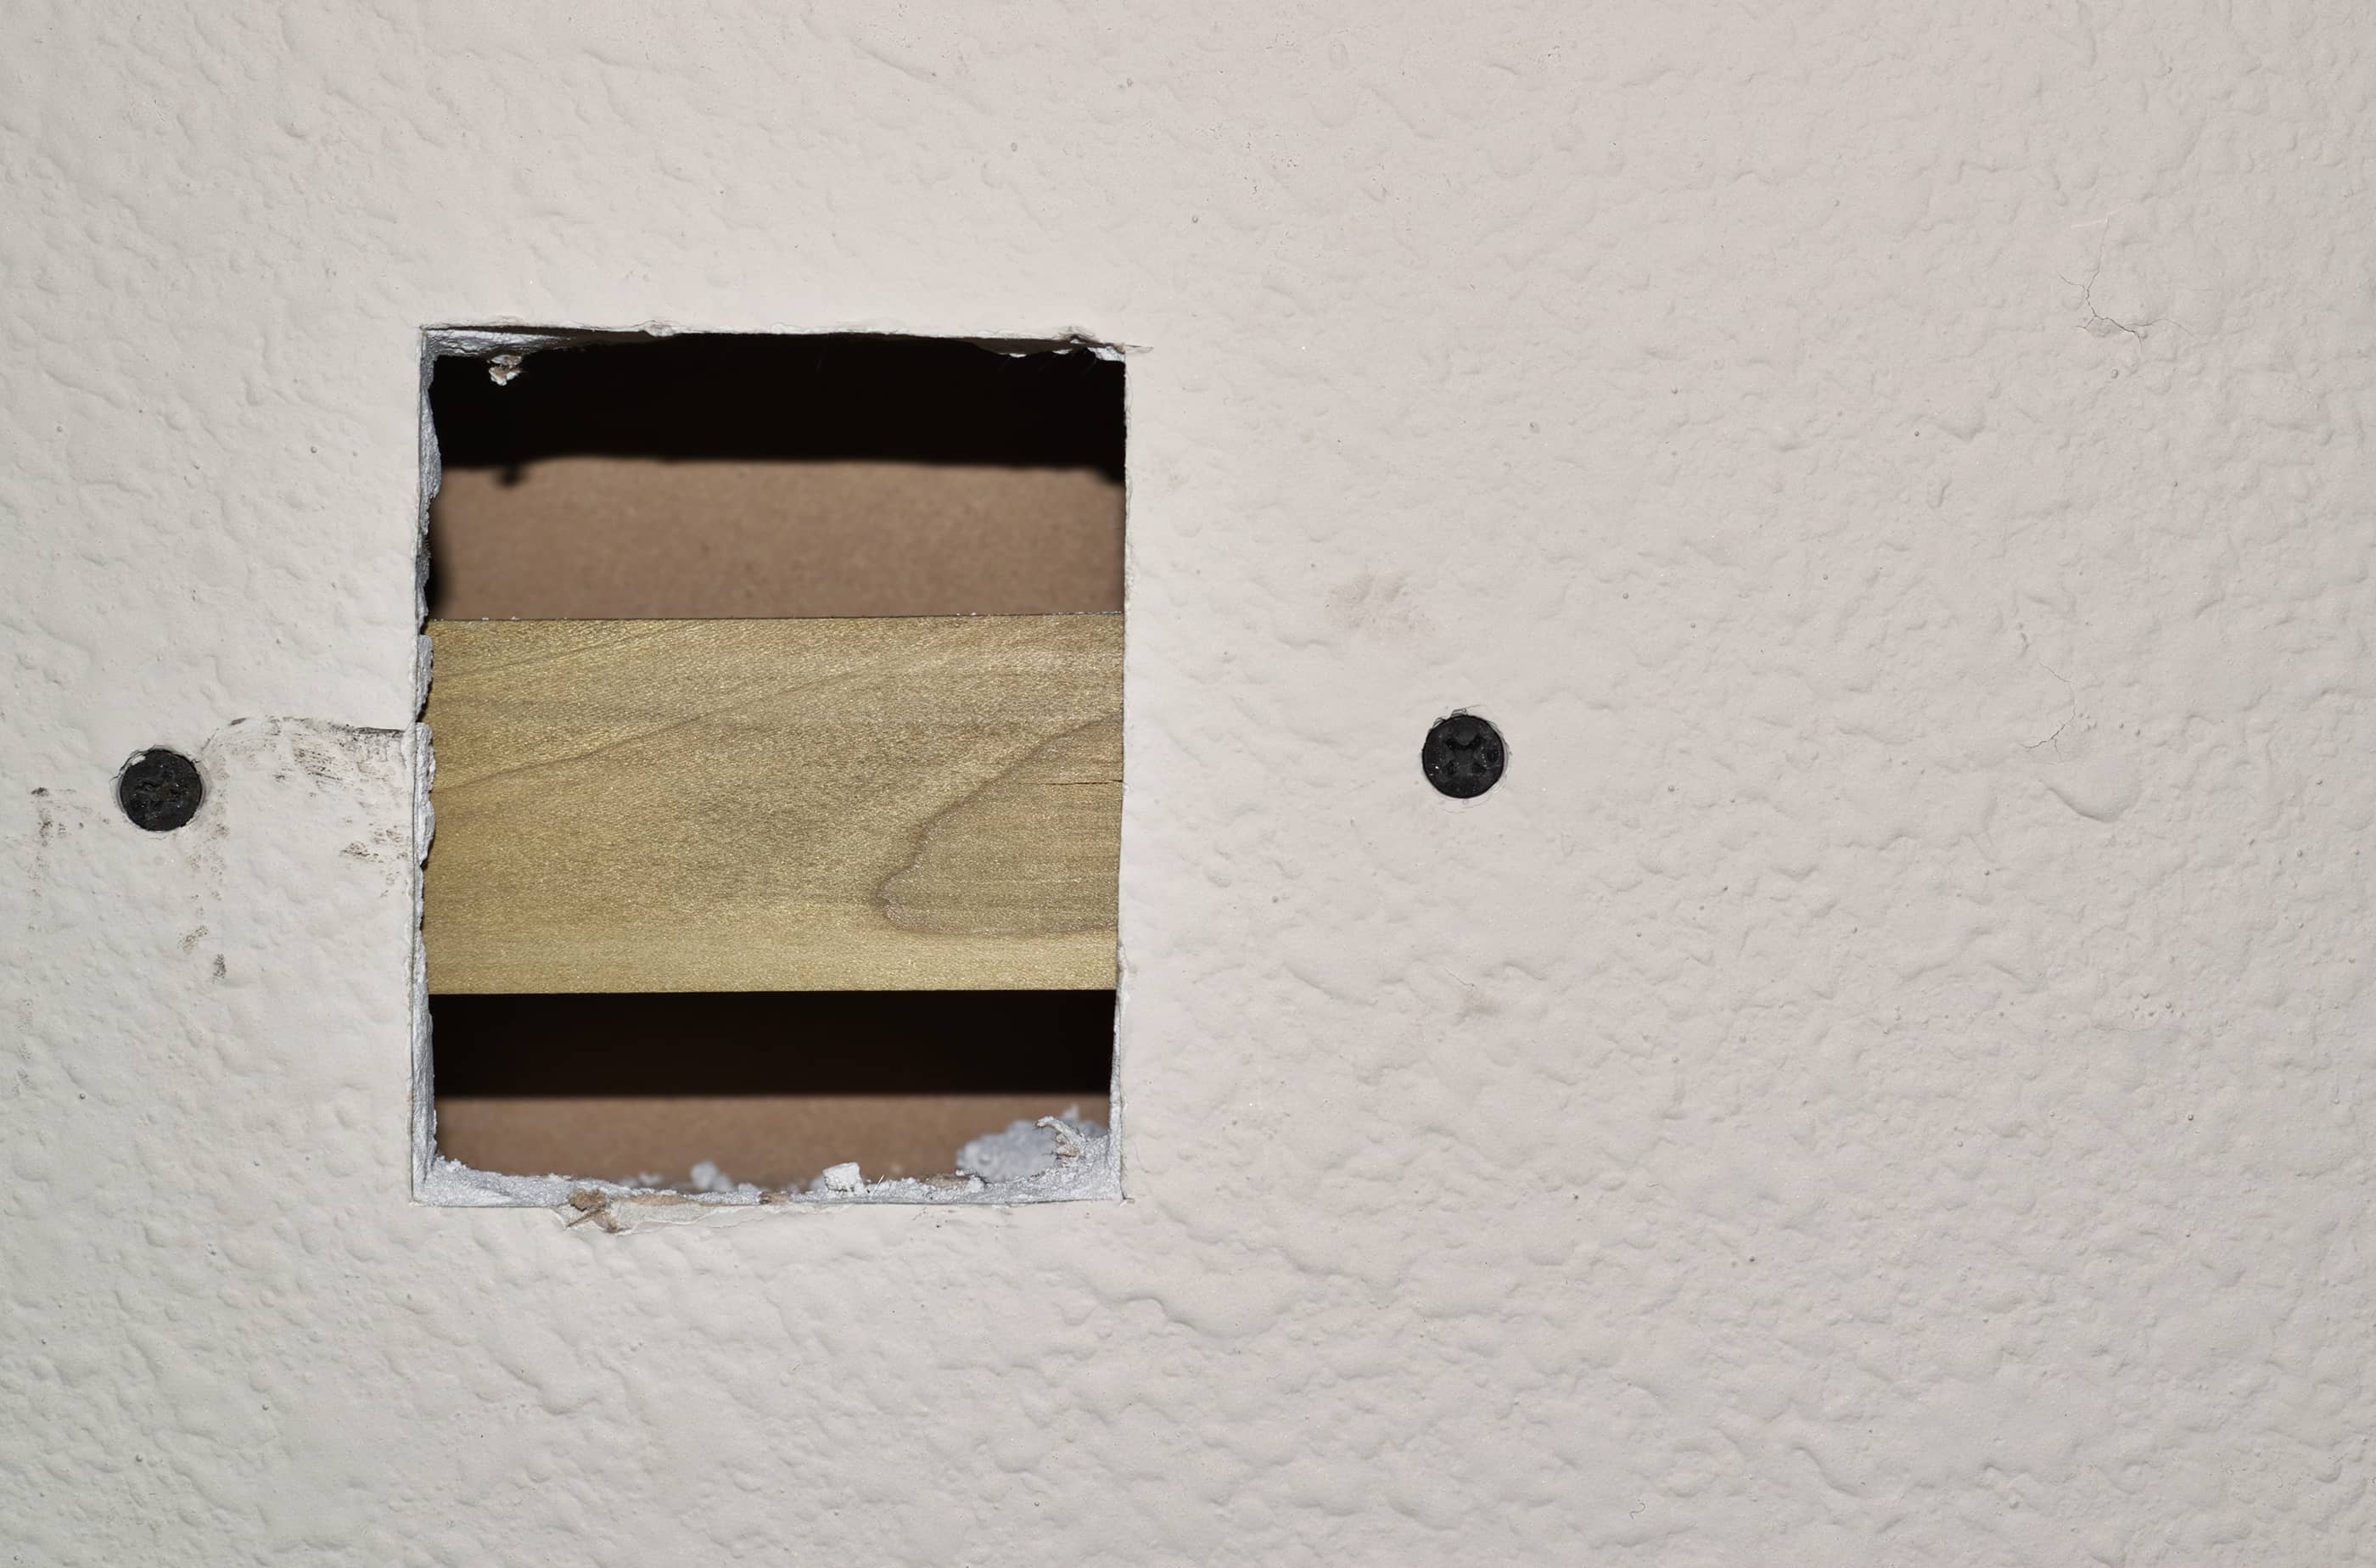
4. Support drywall
Take any size of wooden board, preferably a 2×1 or 2×2, or any excess drywall, and cut so that the piece is about 2-inches larger than the width of the hole. This wood will serve as a support for your new piece of drywall. This ensures that the new piece does not fall back into the wall. Place the board inside the wall, across the hole from the inside as seen below.
5. Prepare for mesh tape
Use the drill and screws to fasten the board to the wall. One screw at each end is enough to secure the board. Ensure the screws are tight enough that the heads of the screws are flat with the wall. Place your new drywall piece into the hole. Make sure it fits nice and flat with the rest of the wall.
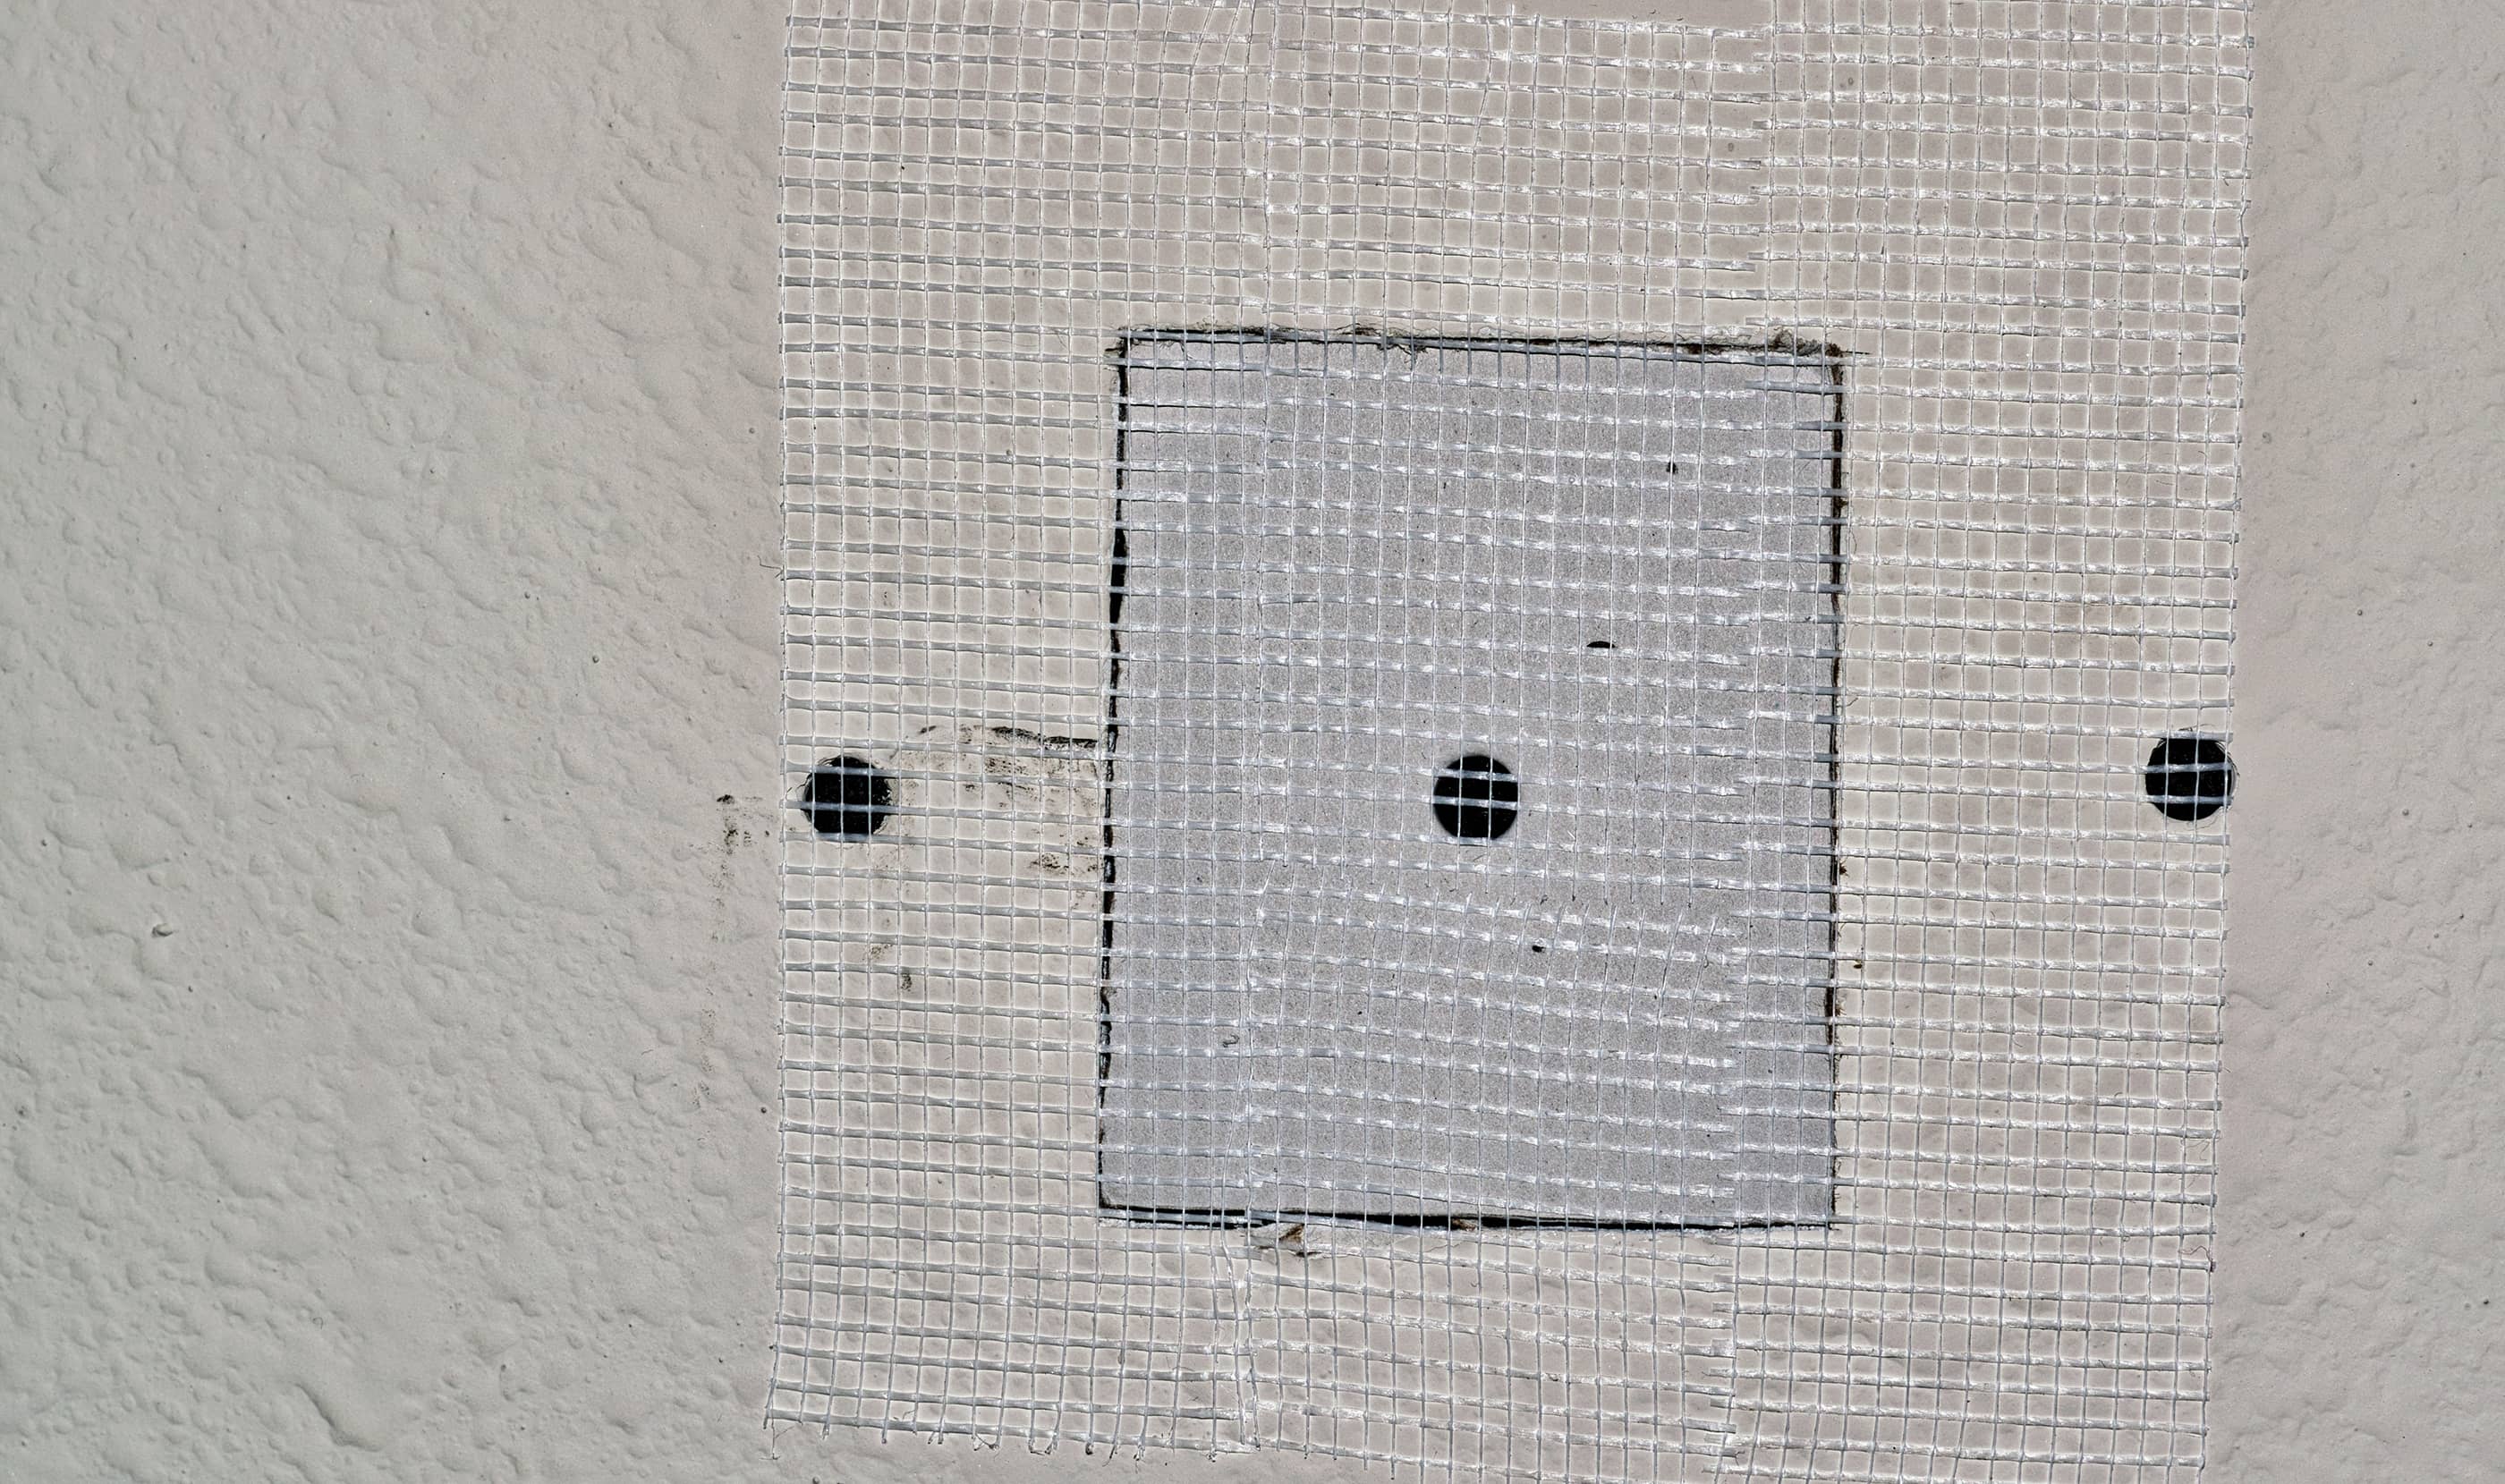
6. Apply mesh tape
Take the plaster mesh tape and place it along the edge of the new drywall piece to help you create a seamless edge.
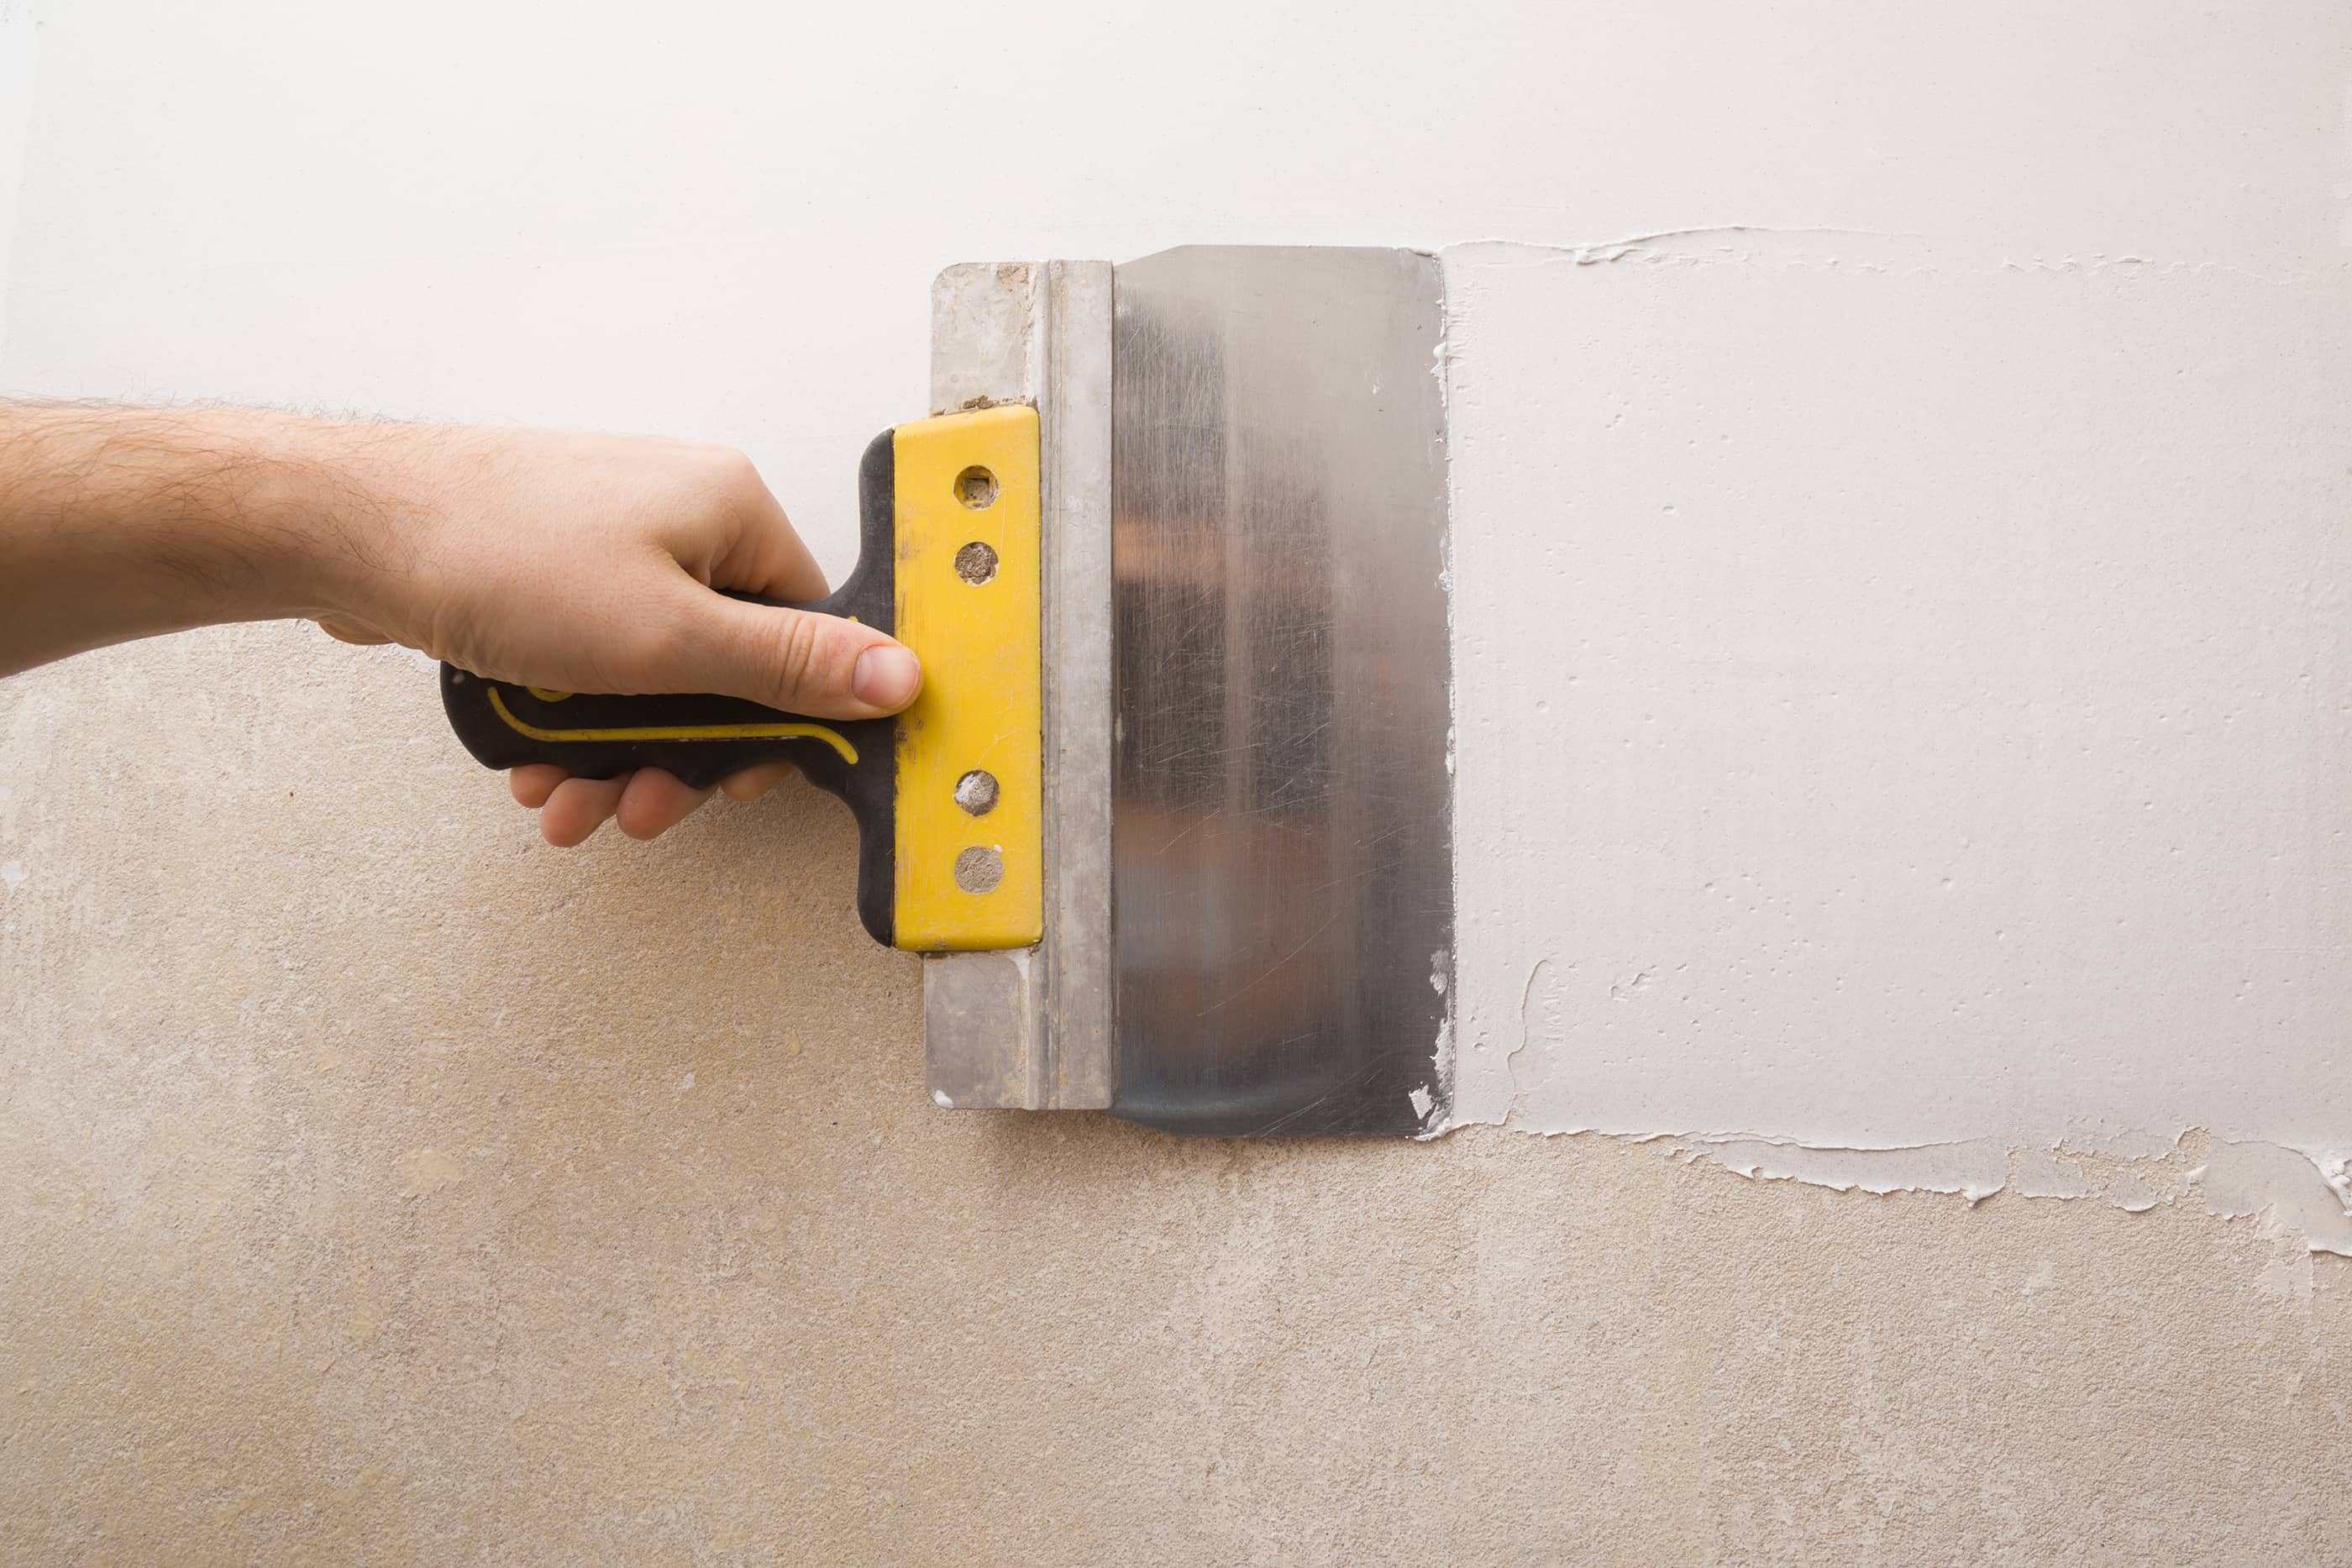
7. Apply drywall plaster
Use the putty knife to apply drywall plaster over the new piece of drywall, including the mesh tape. Apply enough cover and make smooth with the surrounding wall. Wait until the plaster sets, usually half an hour. Read the instructions on your plaster container to make sure. Use the putty knife to apply a thin layer of plaster to make a smooth surface. Wait until the plaster is dry, usually within 24 hours. Read the instructions on your plaster container to know how long you must wait before you can proceed.
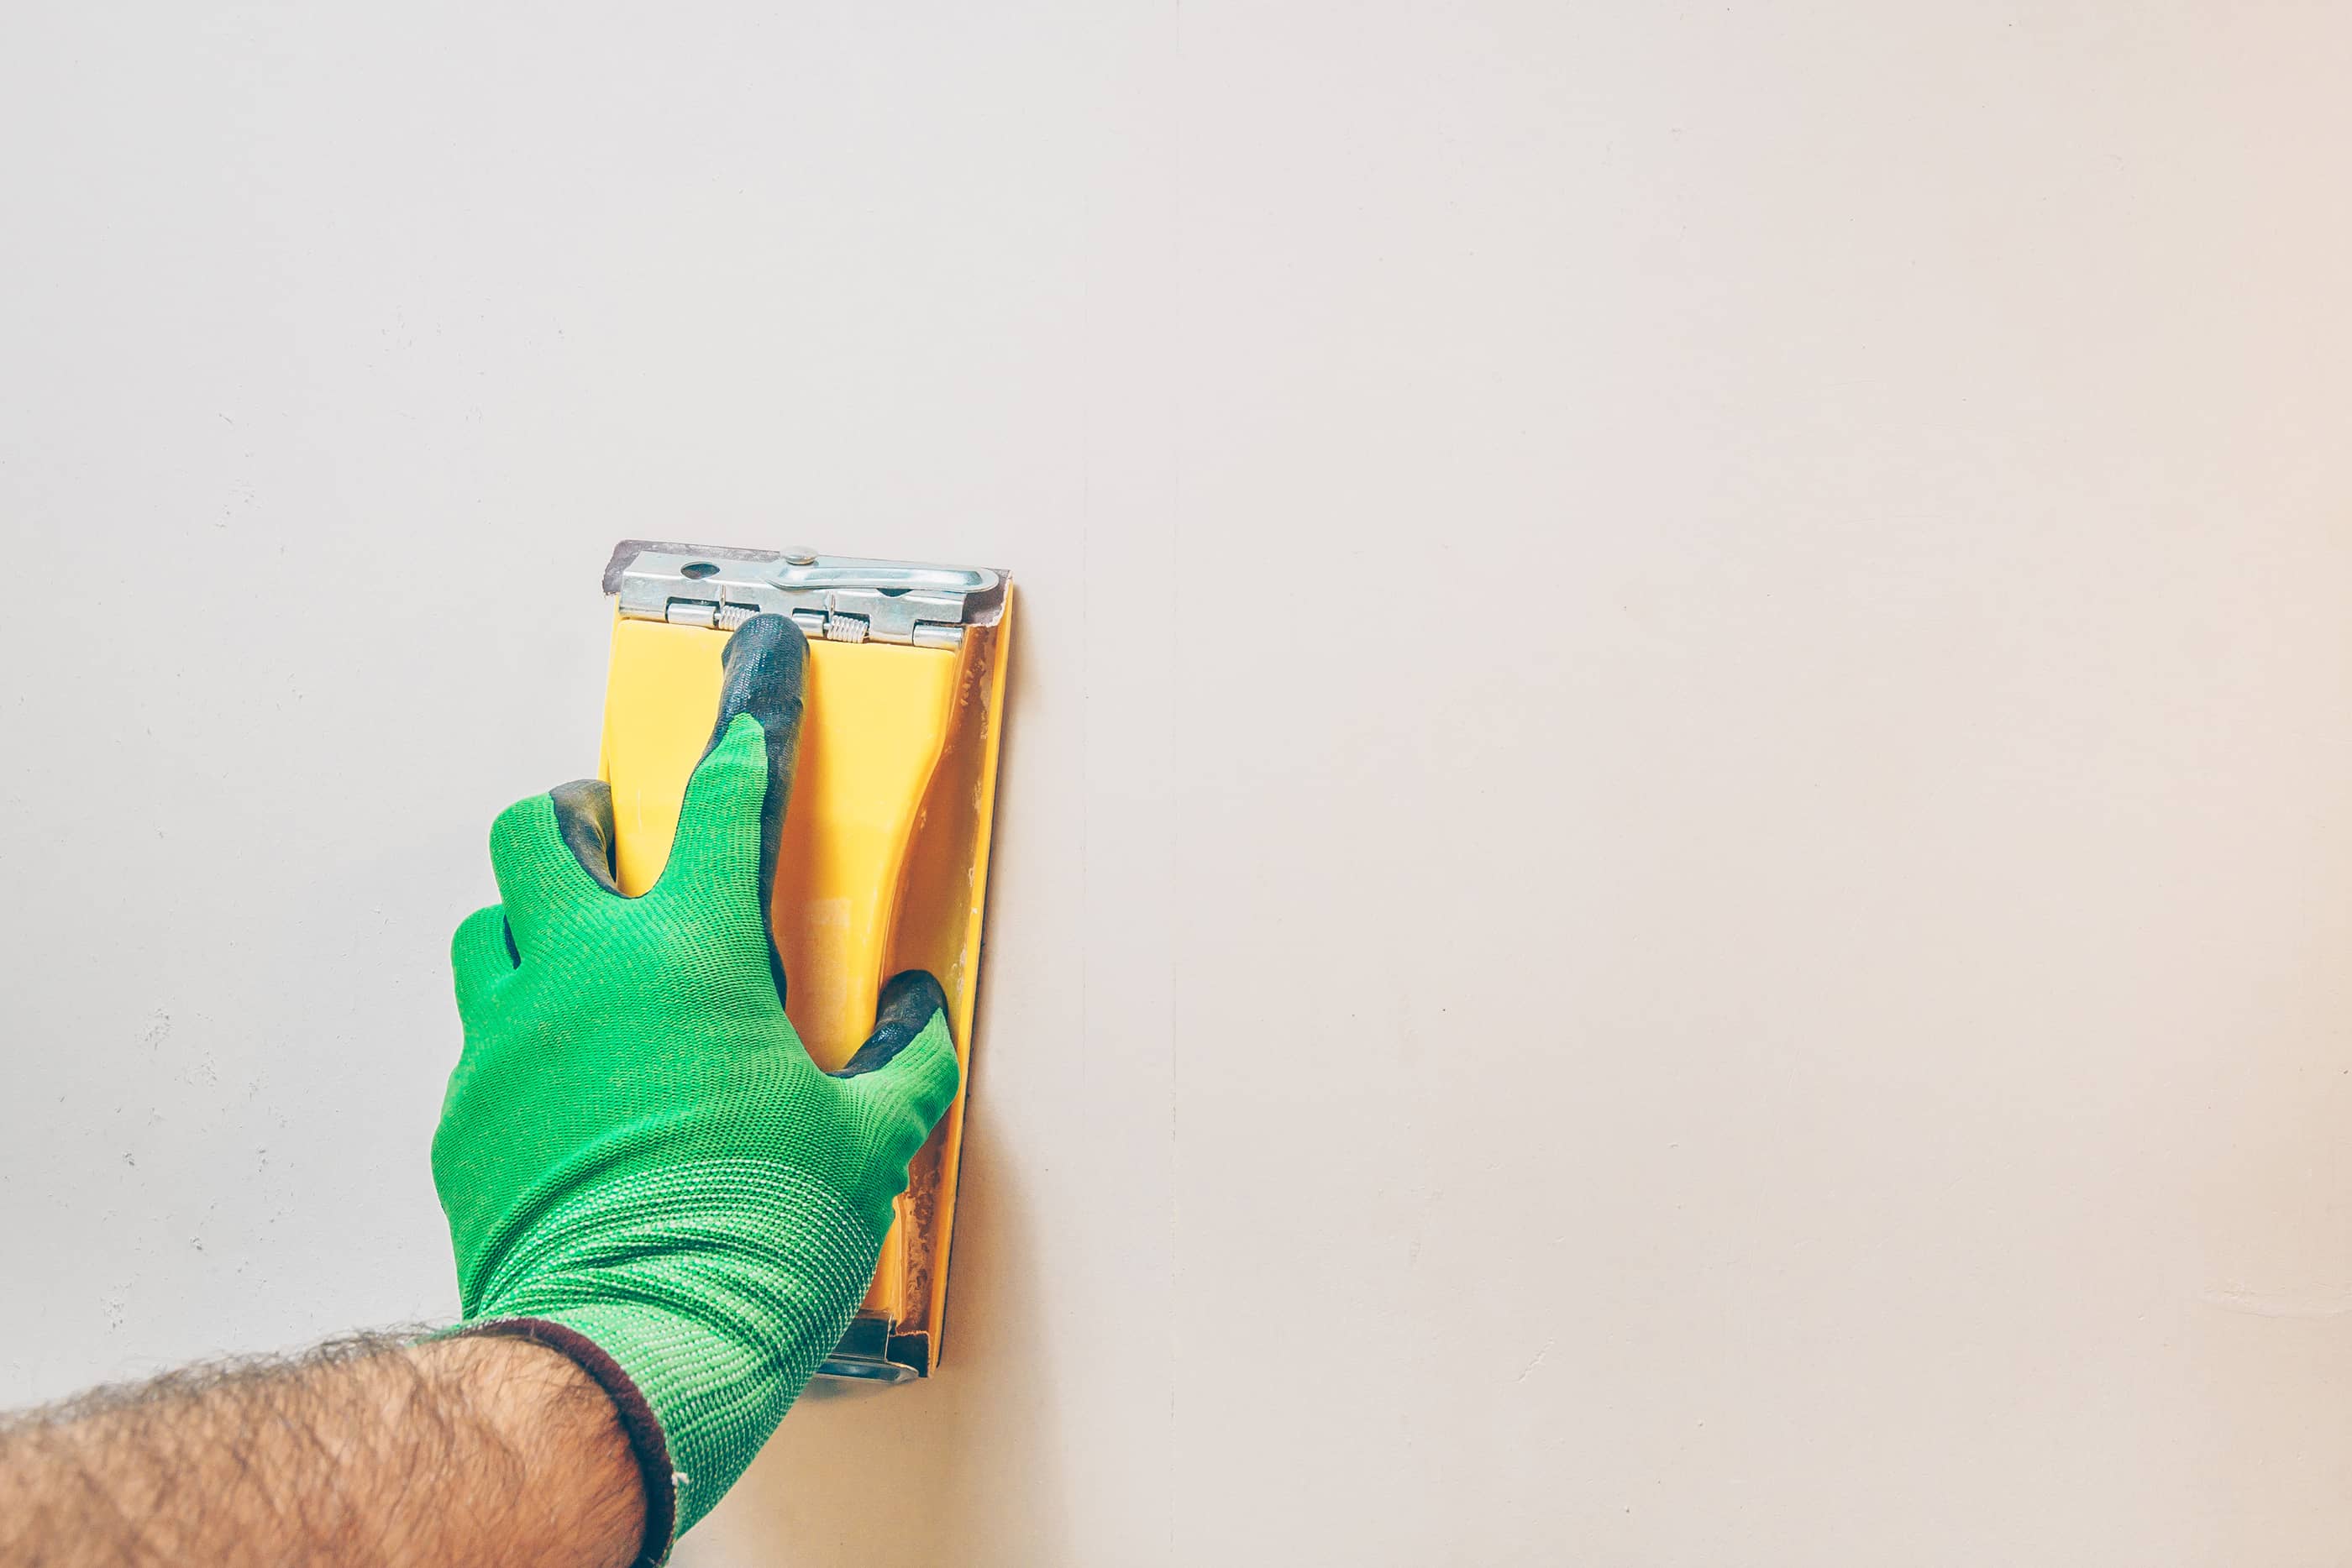
8. Sand excess
Sand any excess plaster off the wall until matching smoothness with the rest of the wall. Don’t worry about sanding off any paint on the surrounding wall. You can repaint it later.
9. Texture your wall (Optional)
If you have a textured wall, it might look out of place to have a smooth patch in the middle of your wall. To better blend in the repair, you must texture the wall. Take the spray texture and read the instructions. Typically, you hold the can a foot away from the wall and sparingly spray the wall while moving the can. Next, you must quickly, and in one or two strokes, move your putty knife over the wet texture to make it as flat as the rest of your wall. Let dry completely before moving on to the next step.
10. Paint
Paint the repair area with matching paint.
11. Done! Congrats!
Too big of a hole in your wall to fix?
Sometimes a hole is too big or in too difficult of a spot for you to fix it yourself. If the hole is more than a foot wide or is bigger than you think you can handle, you might not want to fix it yourself. The hole could also expose pipes, wires or studs; in which case, you could end up causing more damage by trying to fix it yourself. If any of this is true, it might be a good idea to contact your landlord about the problem. Getting your security deposit back is nice, but you don’t want to end up in a worse situation than you started in.
Finishing Up
If learning how to fix a hole in the wall seems like an enormous task, just remember, it’s easy if you have the right tools and follow this guide. Remember to go slow, get the right tools, and make sure you use matching paint. Follow this guide and you’ll be one step closer to getting your security deposit back.
Join the Roost Community
Roost connects you to expert advice, handy planning tools, and tailored recommendations to help make renting simple and rewarding.
Your renters rights, in your state.
Explore what you need to know.
- Alabama Renters Rights
- Alaska Renters Rights
- Arizona Renters Rights
- Arkansas Renters Rights
- California Renters Rights
- Colorado Renters Rights
- Connecticut Renters Rights
- Delaware Renters Rights
- Florida Renters Rights
- Georgia Renters Rights
- Hawaii Renters Rights
- Idaho Renters Rights
- Illinois Renters Rights
- Indiana Renters Rights
- Iowa Renters Rights
- Kansas Renters Rights
- Kentucky Renters Rights
- Louisiana Renters Rights
- Maine Renters Rights
- Maryland Renters Rights
- Massachusetts Renters Rights
- Michigan Renters Rights
- Minnesota Renters Rights
- Mississippi Renters Rights
- Missouri Renters Rights
- Montana Renters Rights
- Nebraska Renters Rights
- Nevada Renters Rights
- New Hampshire Renters Rights
- New Jersey Renters Rights
- New Mexico Renters Rights
- New York Renters Rights
- North Carolina Renters Rights
- North Dakota Renters Rights
- Ohio Renters Rights
- Oklahoma Renters Rights
- Oregon Renters Rights
- Pennsylvania Renters Rights
- Rhode Island Renters Rights
- South Carolina Renters Rights
- South Dakota Renters Rights
- Tennessee Renters Rights
- Texas Renters Rights
- Utah Renters Rights
- Vermont Renters Rights
- Virginia Renters Rights
- Washington Renters Rights
- West Virginia Renters Rights
- Wisconsin Renters Rights
- Wyoming Renters Rights
- Washington, D.C. Renters Rights